Setting Up a Cuddeback CuddeLink Trail Camera System: A Comprehensive Guide
Introduction: Cuddeback CuddeLink trail cameras are highly regarded among outdoor enthusiasts and wildlife researchers for their advanced features and reliable performance. Whether you’re an avid hunter, a nature lover, or conducting wildlife surveys, setting up a CuddeLink trail camera system can greatly enhance your ability to monitor and study wildlife activity. This article provides a step-by-step guide to help you set up your Cuddeback CuddeLink trail camera system effectively.
Step 1: Gather the Necessary Equipment Before you begin setting up your CuddeLink trail camera system, make sure you have all the required equipment. Here’s a list of items you will need:
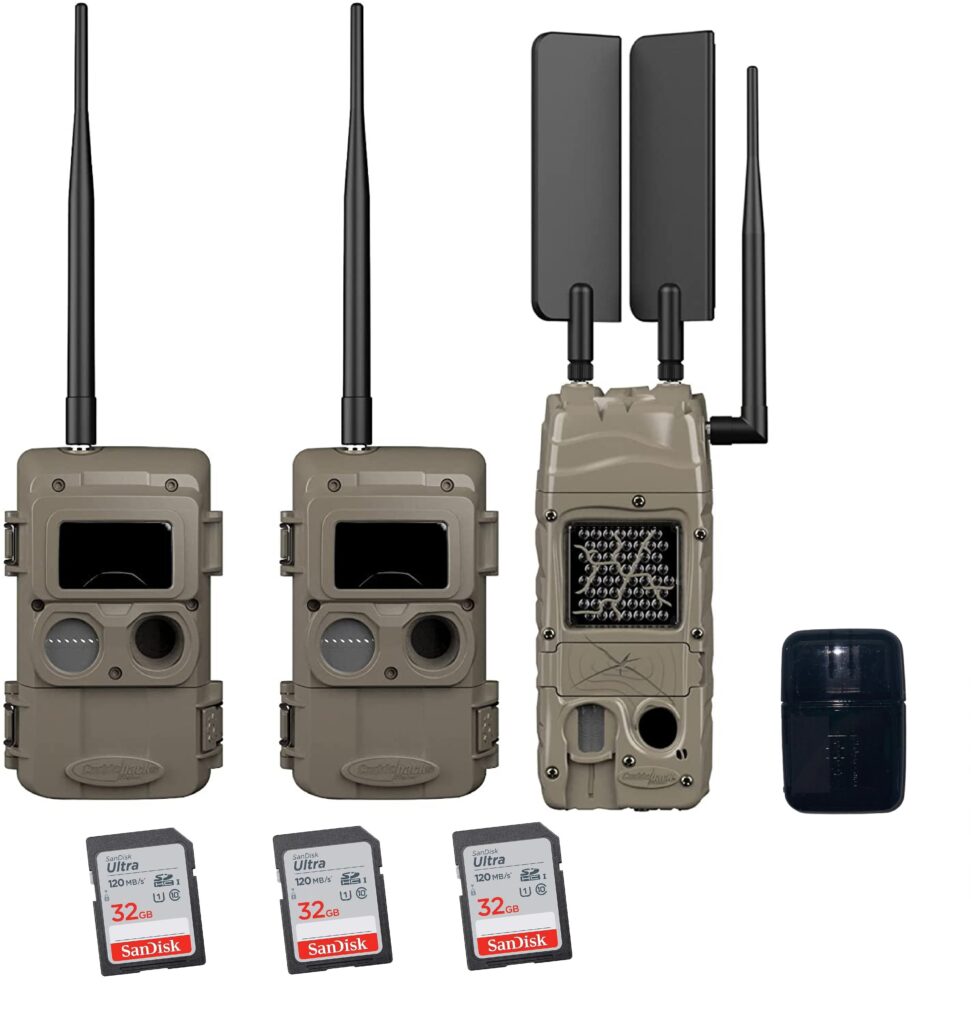
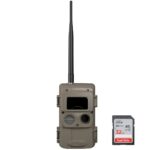
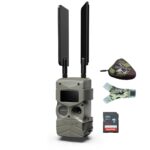
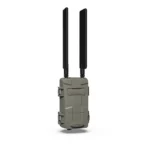
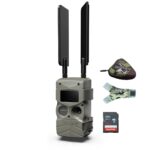
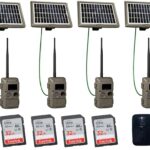
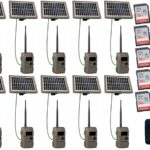
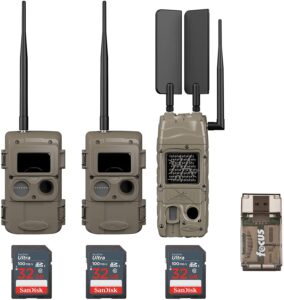
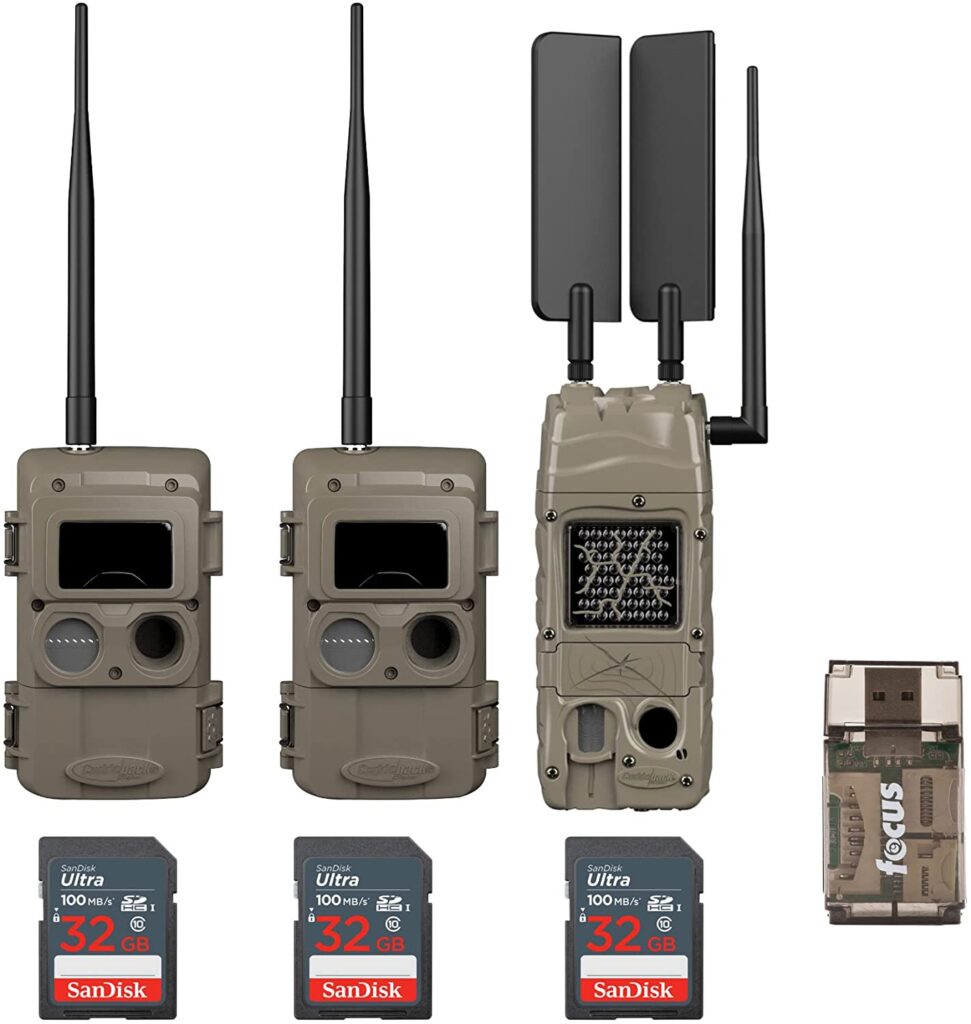
- CuddeLink-compatible trail cameras: Ensure you have at least two or more Cuddeback CuddeLink-compatible trail cameras. These cameras are designed to work together and form a network for transmitting images.
- SD memory cards: Purchase SD memory cards with sufficient capacity to store images and videos captured by your trail cameras.
- Batteries: Obtain the required batteries for your trail cameras. Check the camera’s user manual for specific battery recommendations.
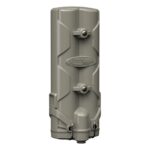
- CuddeLink Home or Network Cap: Depending on the number of cameras you plan to use, you may need a CuddeLink Home or Network Cap, which serves as the central hub for transmitting images.
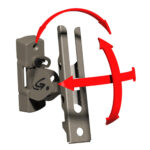
- Mounting accessories: Consider acquiring mounting brackets, straps, or screws to secure your trail cameras in the desired locations.
Step 2: Select Camera Locations Choosing the right locations for your trail cameras is crucial for capturing accurate and valuable data. Some factors to consider when selecting camera locations include:
- Wildlife trails: Identify high-traffic areas, such as game trails, feeding areas, or watering holes. These locations increase the likelihood of capturing wildlife activity.
- Mounting height and angle: Position your trail cameras at an appropriate height and angle to capture the desired field of view. Mount them securely to prevent
movement caused by wind or animal interference.
- Concealment: Conceal your cameras using natural elements like tree trunks or foliage. This reduces the chance of detection by animals or potential thieves.
Step 3: Install and Configure the Cameras Follow these steps to install and configure your Cuddeback CuddeLink trail cameras:
- Insert batteries and memory cards: Insert the batteries and SD memory cards into each trail camera according to the manufacturer’s instructions.
- Configure camera settings: Power on each camera and adjust the settings, such as image resolution, photo delay, time-lapse intervals, and trigger sensitivity. Refer to the camera’s user manual for specific instructions on changing settings.
- Test and aim the cameras: Before mounting the cameras, perform a test to ensure they are capturing images correctly. Make any necessary adjustments to the camera’s aim and detection zone to optimize image quality and target coverage.
Step 4: Set Up CuddeLink Network To establish the CuddeLink network, follow these steps:
- Install CuddeLink Home or Network Cap: Connect the CuddeLink Home or Network Cap to a tree or a sturdy post near the camera locations. Ensure it is placed within the recommended wireless transmission range.
- Link cameras to the network: Refer to the user manual for instructions on linking your CuddeLink-compatible trail cameras to the CuddeLink Home or Network Cap. Typically, this involves configuring the cameras to the same channel as the network cap and following a synchronization process.
- Test network connectivity: After linking the cameras, verify the network connectivity by triggering a camera and checking if the images are being transmitted to the CuddeLink Home or Network Cap.
Step 5: Monitor and Manage the System Once your CuddeLink trail camera system is set up, it’s important to regularly monitor and manage it for optimal performance. Here are a few tips:
- Check battery and memory card status: Regularly inspect the battery life and remaining memory card capacity of each camera. Replace batteries and memory cards as needed to avoid interruptions in data collection.
- Review and organize images: Retrieve the SD memory cards from the cameras and review the captured images on a computer. Organize the images by date, time, and location for easier analysis.
- Maintain camera integrity: Periodically check the cameras for damage, such as water leaks, condensation, or physical wear. Clean the camera lenses and sensors to ensure clear image capture.
Conclusion: Setting up a Cuddeback CuddeLink trail camera system can be an exciting and rewarding endeavor for wildlife enthusiasts and researchers alike. By following the steps outlined in this guide, you’ll be well on your way to establishing a reliable and efficient system for capturing and studying wildlife activity. Remember to familiarize yourself with the specific instructions provided in the user manual for your CuddeLink trail cameras, as they may vary slightly based on the camera model. Happy trail camera monitoring!
